Before installing
Installation of the Dekomat™ typically takes approximately 10 minutes, making updating to a new design a swift and effortless process. If a cart has custom components installed on the floor the mats can be simply cut/trimmed with a box knife, or scissors to compensate for the aftermarket equipment.
Upon receiving your new Dekomat™, please unroll the mat and lay it flat, leave the mat in this position until it acclimates to the ambient air temperature. Allowing your mat to acclimate properly will make installation easier.
*Tip: letting the mat lay in the sun can greatly speed up this process*
The tools you will need to complete the installation process consist of; a screwdriver with the bit to match your carts hardware (typically a star or Phillips head bit), and a razor, knife, or scissors if you have any aftermarket equipment on the floor of your golf cart.
Installation steps
- Remove all hardware holding side rails in place, typically a Philips head screwdriver or Allen key. (if equipped with rivets, remove all rivets holding the mat in place)
- Remove old floor mat, and clean the area where the new Dekomat™ is to be installed so that it is free of dirt/debris.
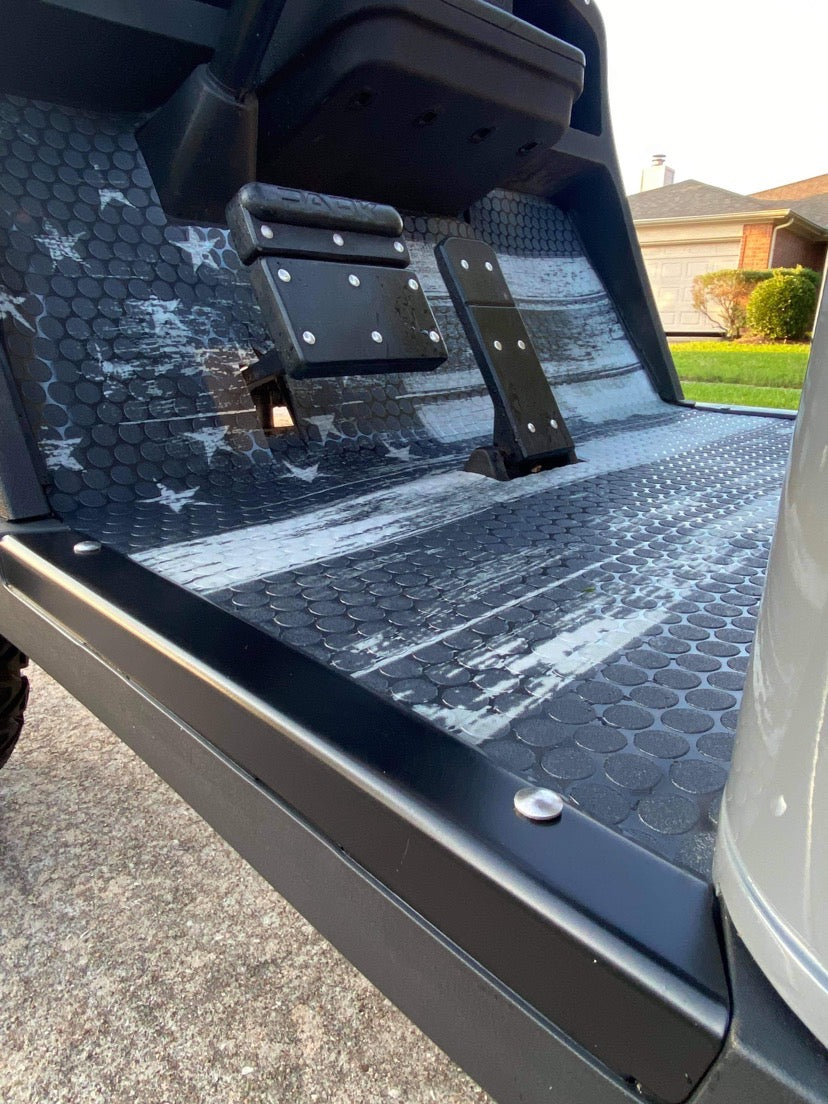
- Place the new Dekomat into position. Install the mat cut outs over the brake pedal, and then the accelerator pedal.
- Smooth out and center mat. If necessary, trim edges to fit any aftermarket accessories that may be installed. Optionally, place provided double sided tape in desired areas for a tighter fit.
- In the event that your cart model was equipped with rivets holding the old mat in place, re-insert the rivet screws into the new Dekomat in the holes provided.
- Reinstall side rails with hardware that was removed during step one.